
Home and Garden

The Importance of Clean Products for Your Home
When it comes to maintaining a healthy and inviting home, cleanliness is key. But it’s not just about keeping your space free of dirt and clutter. The products you use to clean your home can have a significant impact on your health, the environment, and the overall well-being of your family. Here’s why opting for clean, non-toxic cleaning products is so important.
Health Benefits
Many conventional cleaning products contain harsh chemicals that can be harmful to your health. Ingredients like ammonia, chlorine bleach, and phthalates have been linked to respiratory issues, skin irritation, and even long-term health problems. By choosing clean, eco-friendly products, you reduce the exposure to these chemicals, creating a safer environment for your family. This is especially important for households with young children, pets, or anyone with allergies or asthma.
Environmental Impact
Traditional cleaning products contribute to pollution in two major ways. First, many of these products contain synthetic chemicals that are not biodegradable, meaning they can pollute water systems when washed down the drain. Second, the production and disposal of plastic containers for these products often contribute to growing environmental waste. Clean products, however, tend to be made with biodegradable ingredients and eco-friendly packaging, helping to reduce your carbon footprint.
Long-Term Savings
While clean products may seem like a more expensive option upfront, they can actually save you money in the long run. Many non-toxic cleaners are concentrated, meaning you can use less and still get effective results. Additionally, because they often have fewer harsh chemicals, they’re less likely to damage surfaces or require frequent repairs, saving you on cleaning supplies and maintenance costs.
Peace of Mind
Using clean products provides peace of mind. You can trust that you’re not bringing harmful chemicals into your home, and you’re fostering an environment that supports the health of your family and the planet. Whether it’s the bathroom, kitchen, or living room, knowing that the products you’re using are both effective and non-toxic gives you the confidence to clean without worry.
Incorporating clean products into your home cleaning routine isn’t just a trend — it’s an investment in your health, the environment, and the well-being of those you love. By making the switch to safer, eco-friendly alternatives, you’ll be contributing to a healthier home and a cleaner planet.

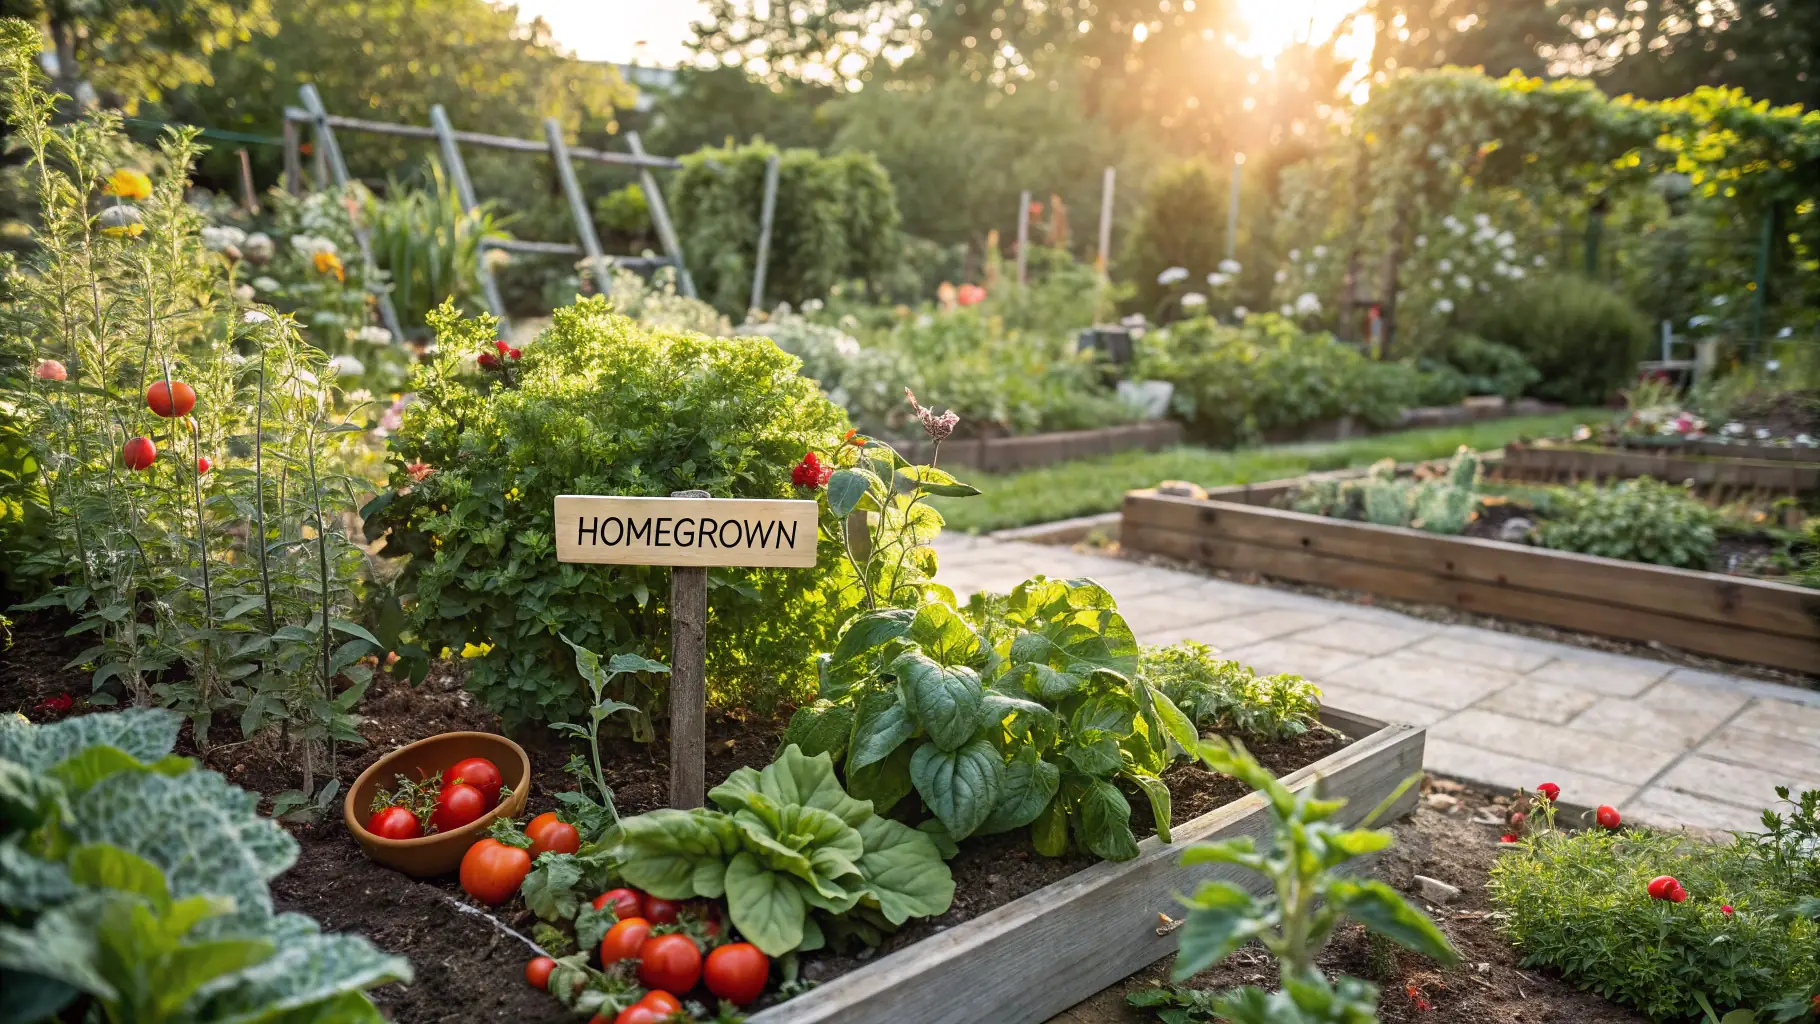
Gardening
Starting a home garden can be a rewarding and enjoyable hobby. Here are some professional tips to help beginners get started:
First Choose the Right Location
- Sunlight: Most plants need 6-8 hours of sunlight a day. Choose a location in your yard or home where your plants will get adequate light.
- Protection from Wind: If you live in a windy area, consider placing your garden in a sheltered spot to protect fragile plants.
Know Your Soil
- Test the Soil: Test your soil’s pH and nutrient levels. Many garden centers offer soil testing kits.
- Improve Soil Quality: Add compost, organic matter, or other soil amendments to improve drainage, texture, and nutrient content.
Start Small
- Start with Easy Plants: For beginners, start with easy-to-grow plants like tomatoes, lettuce, marigolds, or herbs. These are forgiving and don’t require too much attention.
- Limit Your Initial Garden Size: Don’t overwhelm yourself by planting a huge garden at once. Start with a small section or a few pots, then gradually expand as you gain experience.
Water Wisely
- Consistent Watering: Plants need consistent moisture, but not too much. Water the base of plants, not their leaves, to prevent disease.
- Water in the Morning: Watering in the morning allows the soil to dry before evening, reducing the risk of mold or mildew.
- Use Mulch: Apply a layer of mulch around your plants to help retain moisture and keep the soil temperature consistent.
Choose the Right Plants for Your Climate
- Know Your USDA Hardiness Zone: Research your local climate zone and choose plants that will thrive in your area.
- Seasonal Planting: Plant according to the season—cool-weather crops in spring or fall, and warm-weather crops in summer.
Fertilize Properly
- Use Balanced Fertilizer: A good general-purpose fertilizer with equal parts nitrogen, phosphorus, and potassium works well for most plants.
- Follow Instructions: Over-fertilizing can harm plants. Always follow the recommended application rates and avoid applying too often.
Prune Regularly
- Remove Dead Growth: Prune dead or diseased stems and leaves to encourage healthy growth.
- Shape Your Plants: Regular pruning helps maintain the shape and encourages new growth.
Observe Your Garden
- Look for Pests: Regularly check for pests or signs of disease. Early detection makes control easier.
- Check for Watering Issues: Watch for signs of overwatering (yellow leaves) or underwatering (wilting).
Grow in Containers
- Easy Setup: Container gardening is ideal for beginners, especially if you have limited space or poor soil.
- Drainage: Ensure pots have drainage holes to avoid waterlogging and root rot.
Be Patient
- Enjoy the Process: Gardening is a slow process. Plants take time to grow, so be patient and enjoy watching them develop.
- Learn from Mistakes: Every gardener makes mistakes. Learn from them, adjust, and try again.
By following these tips, you’ll be on the path to creating a thriving garden, and with practice, your skills will improve year after year.
DIY: Learn How to Build it Yourself
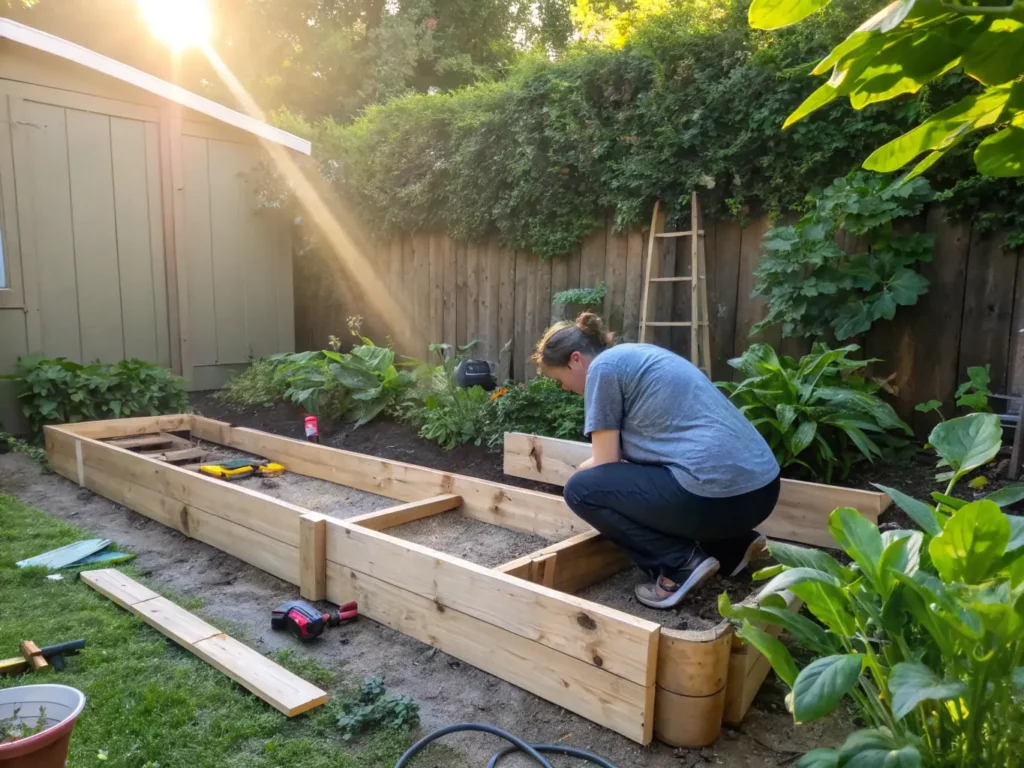
Leveling Your Garden Bed: A Step-by-Step Guide
- Shovel
- Rake
- Wheelbarrow
- String & stakes
- Spirit level or line level
- Garden roller (optional)
- Topsoil or sand
- Garden hose (optional, for watering)
- Walk around your garden and identify uneven areas.
- Check for dips, slopes, and drainage issues.
- Use a string line with stakes and a spirit level to determine the high and low points.
- Place stakes around the garden at different points.
- Tie a string between them at a consistent height to create a reference level.
- Use a line level to adjust the strings to a level position.
- If your garden has grass, remove it using a shovel or a sod cutter.
- Clear out weeds, rocks, and debris from the area.
For Low Areas:
- Fill dips with topsoil or sand and spread it evenly using a rake.
- Lightly water the soil to help it settle, and compact it using a garden roller or by walking over it.
For High Areas:
- Dig out excess soil using a shovel.
- Distribute the soil to lower areas or remove it entirely.
- Use a rake to smooth the surface.
- Lightly compact the soil using a garden roller or by walking over it.
- Add more soil if needed and repeat the leveling process.
- Use the string lines and a level to check your work.
- Make adjustments where necessary by adding or removing soil.
- Lightly water the area to help the soil settle.
- Let the soil rest for a few days before planting or laying sod.
- If laying grass, consider using a layer of compost or fertilizer for better growth.